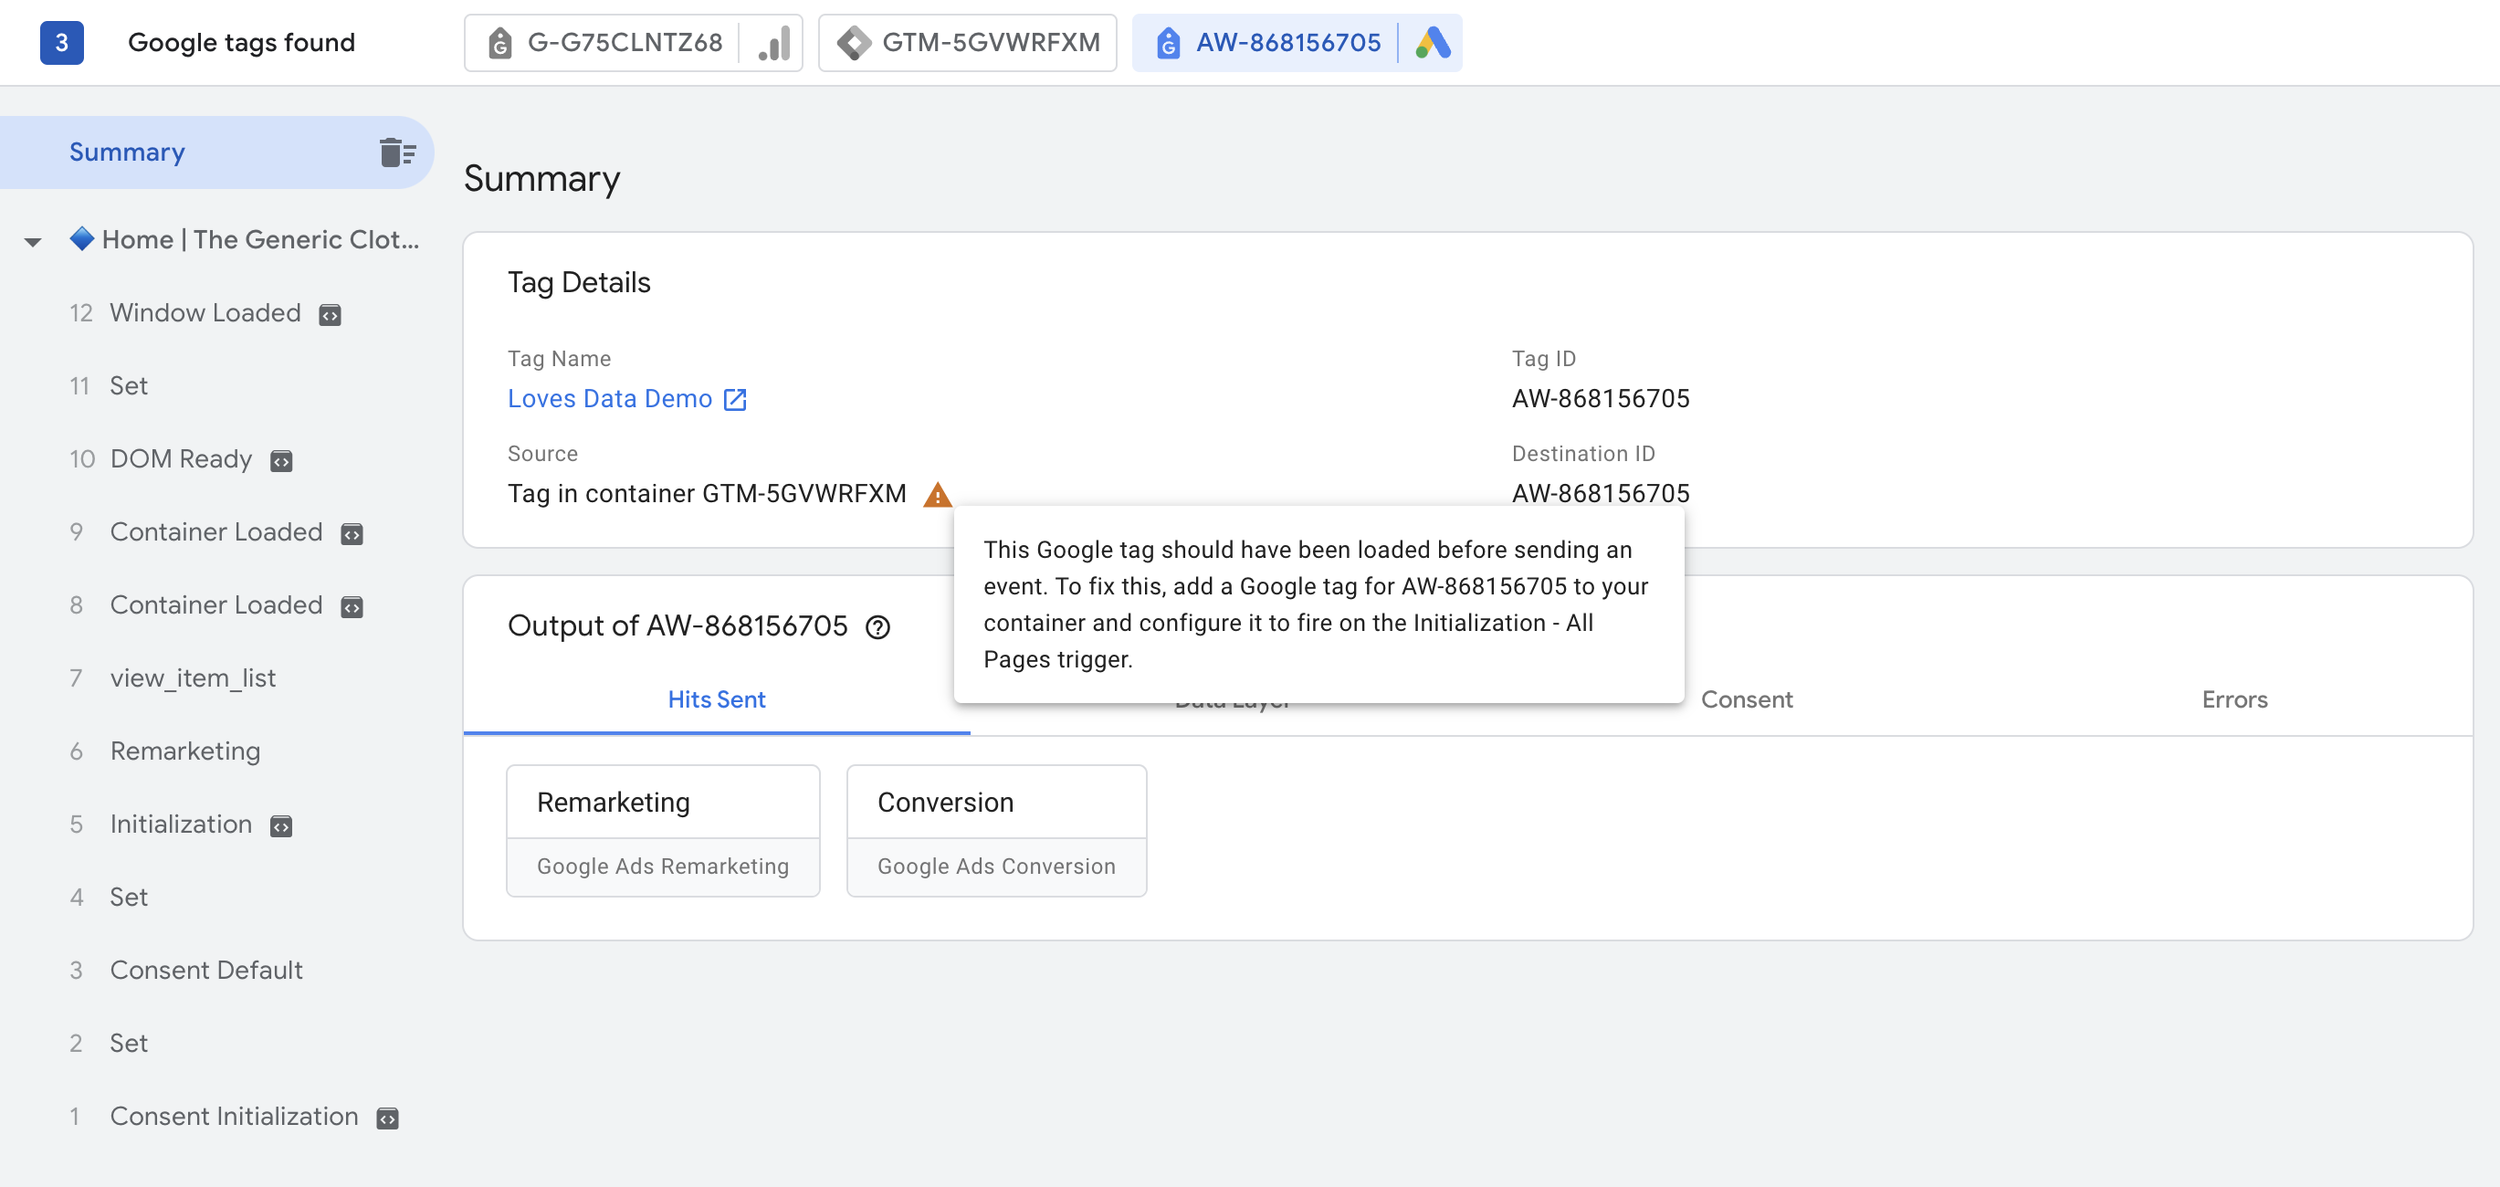
How to Fix the "Google Tag Should Have Been Loaded" Warning in Google Tag Manager
Loves Data
If you're working with Google Ads and using Google Tag Manager, you might encounter a warning message stating, "This Google tag should have been loaded before sending an event. To fix this, add a Google tag to your container and configure it to fire on the Initialization - All Pages trigger." In this post, we'll explain why this warning occurs and guide you through the steps to resolve it.

Understanding the Warning
This warning typically appears when you have implemented Google Ads conversion tracking or remarketing tags without adding a corresponding Google Tag across your entire website. While this warning does not indicate a loss of data, it highlights a potential optimization area for your tag setup.
Why the Warning Occurs
When you send data to Google Ads but haven’t implemented a Google Tag (formerly known as the global site tag or gtag.js), Google Tag Manager alerts you. The warning suggests that to enhance your tracking setup and ensure all data is accurately captured, you should add a Google Tag configured to fire on the Initialization - All Pages trigger.
Steps to Fix the Warning
Let's walk through the process of adding a Google Tag in Google Tag Manager to fix this warning:
1. Navigate to Google Tag Manager
Start by opening Google Tag Manager and navigating to your container.
2. Check Your Existing Tags
Go to the 'Tags' section to review your current tags. You might see tags like 'Conversion Linker', 'Google Ads Conversion Tracking', and 'Google Ads Remarketing'.
3. Enter Preview Mode
Click 'Preview' to enter Tag Assistant mode. Enter your website URL and click 'Connect'. Once your website loads, go to the Tag Assistant tab.
4. Identify the Warning
In the Tag Assistant tab, locate the warning message by selecting your Google Ads Tag ID. The warning will state, "This Google tag should have been loaded before sending an event. To fix this, add a Google tag to your container and configure it to fire on the Initialization - All Pages trigger."
5. Create a New Google Tag
Head back to Google Tag Manager to create a new tag:
- Click on 'Tags' and then 'New'.
- Name the tag (e.g., 'Google Tag, Google Ads').
- Click on 'Tag Configuration' and select 'Google Tag' as the Tag Type.
6. Get Your Google Ads Tag ID
Retrieve your Google Ads Tag ID from Tag Assistant. Copy the Tag ID.
7. Configure the New Tag
Back in Google Tag Manager, paste the Tag ID into the tag configuration. If there is an existing variable with the Tag ID, use that to avoid duplication:
- Click the variable icon.
- Select the existing variable if available.
- Confirm it matches your Google Ads Tag ID.
8. Set the Trigger
Scroll down to 'Triggering' and select the 'Initialization - All Pages' trigger. This ensures the tag loads before any other events.
9. Save and Test the Tag
Save the new tag and click 'Preview' to test the changes. Once Tag Assistant reloads, check your Google Ads Tag ID. The warning should no longer appear.
Why Implementing the Google Tag Matters
While the warning is not critical, addressing it provides several benefits:
- Improved Data Quality: Ensures all data sent to Google Ads is accurate and complete.
- Remarketing Lists: Allows you to create remarketing lists in Google Ads seamlessly.
- Page-Based Conversions: Enables you to set up page-based conversions without additional tags.
Video Tutorial
For a visual walkthrough, check out our YouTube video where we demonstrate these steps in detail:
Conclusion
By following these steps, you can efficiently resolve the "Google Tag Should Have Been Loaded" warning in Google Tag Manager, ensuring your Google Ads tracking is optimized and accurate. Stay tuned to Loves Data for more tips and guides on maximizing your digital marketing efforts. Don't forget to subscribe to our channel and check out our Google Tag Manager course for in-depth learning.


Comments