Mastering Google Tag Manager: A Guide to Streamline Tracking and Enhance Data Quality
Loves Data
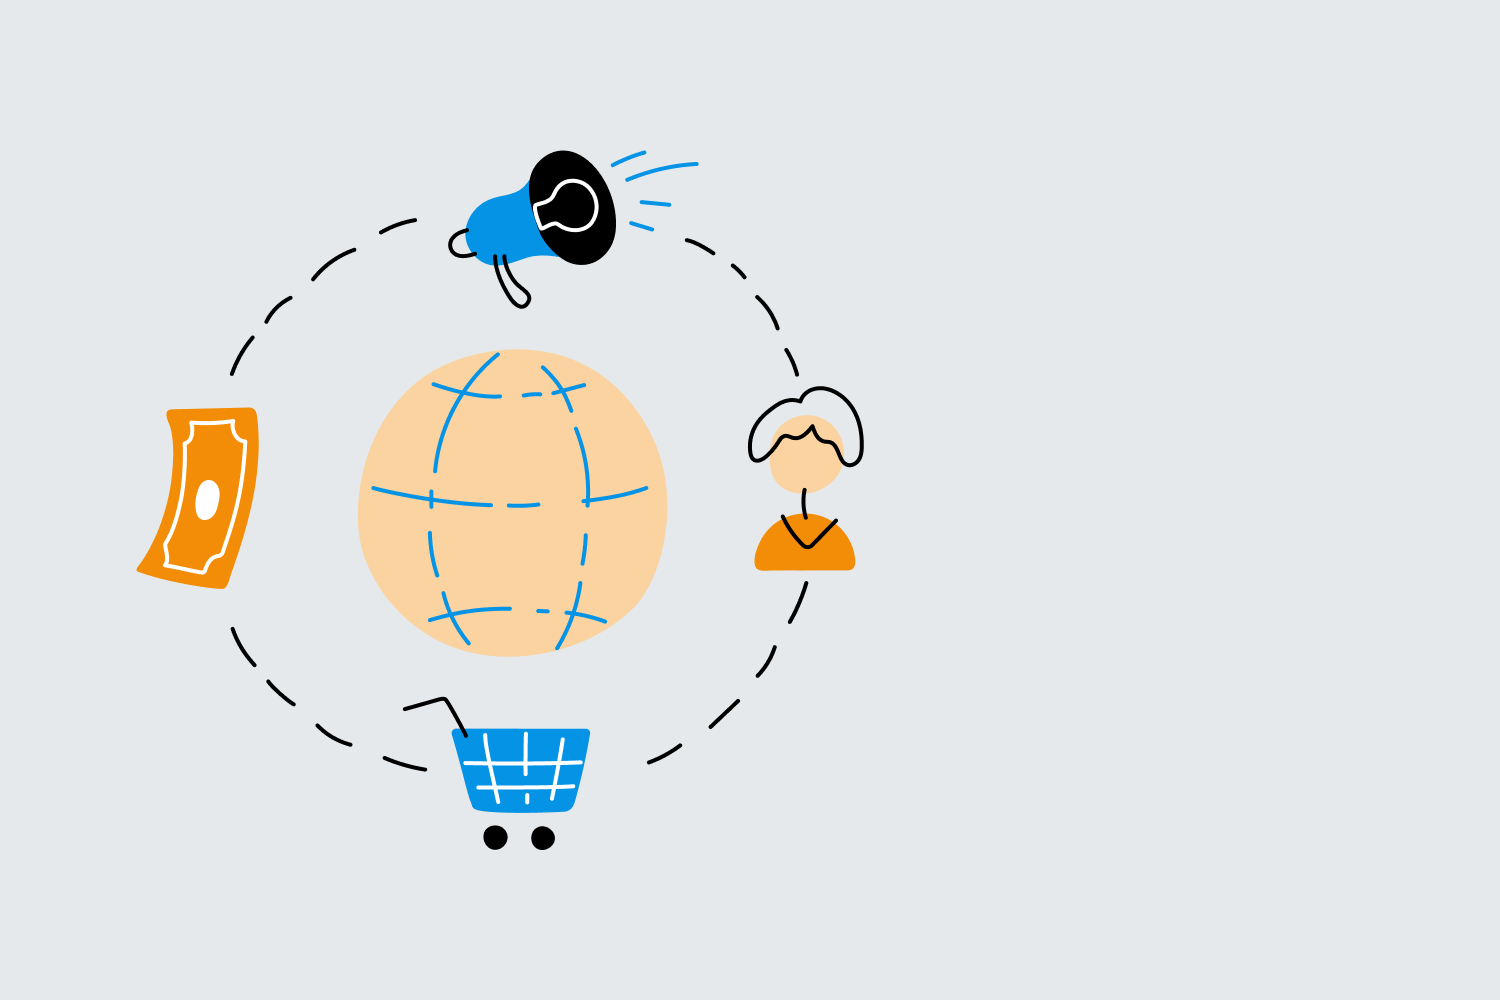
If you're looking to improve the efficiency and accuracy of tracking on your website, Google Tag Manager is an indispensable tool in your digital marketing arsenal. This powerful and versatile platform provides a centralized way to manage tags, enabling you to deploy, update, and monitor tracking code with ease and without requiring extensive technical expertise.
In this comprehensive guide, we'll dive deep into the world of Google Tag Manager, taking you through the entire process of setting up, configuring, and utilizing this powerful tool for optimal tracking and data quality. By understanding the capabilities and best practices for Google Tag Manager, you'll be able to streamline your tracking setup, enhance the quality of data gathered, and uncover valuable insights to inform your digital marketing strategy.
Whether you're a seasoned digital marketer or just starting in the world of analytics, this guide will equip you with the knowledge and skills needed to master Google Tag Manager and level up your tracking capabilities.
Understanding the Core Components of Google Tag Manager
Before diving into the setup and implementation of Google Tag Manager, it's vital to understand the core components and hierarchy of the platform. Google Tag Manager operates with a simple, yet powerful structure consisting of:
1. Accounts: Each organization should have a single Google Tag Manager account, which serves as the top-level container for all your tracking needs.
2. Containers: A container is a collection of tags, triggers, and variables for a specific website or app. You should have one container per website or app to ensure proper tracking and data quality.
3. Tags: Tags are the tracking scripts or codes (such as Google Analytics or Google Ads) that you want to deploy on your website or app.
4. Triggers: Triggers determine when a specific tag should fire or execute, based on predefined conditions (e.g., a page view, a click, or a form submission).
5. Variables: Variables provide additional information or dynamic values used in tags and triggers to define conditions, settings, and data points.
By understanding these core components, you can effectively structure and manage your Google Tag Manager implementation for seamless tracking and data collection.
Setting Up Your Google Tag Manager Account and Container
Your journey to mastering Google Tag Manager starts with setting up your account and creating a container for your website or app. Here's a step-by-step guide to get you started:
1. Go to the Google Tag Manager website (https://tagmanager.google.com) and sign in with your Google account.
2. Click on "Create Account" and fill in your account information, including your organization's name and country.
3. Create a container by entering your website or app name, selecting the appropriate target platform (web, iOS, Android, AMP, or server), and clicking "Create."
4. After creating your web container, you'll be presented with the container code snippet. You'll need to add this code to your website's source code as instructed.
With your account and container set up, you're now ready to start adding tags, triggers, and variables to streamline your tracking setup.
Implementing Tracking with Tags, Triggers, and Variables
Google Tag Manager's greatest strength lies in its flexibility and ease of use when implementing and managing tags, triggers, and variables. To add a new tag to your container:
1. Navigate to your container in Google Tag Manager and click "Add a New Tag."
2. Select the desired tag type or template (e.g., Google Tag, Google Ads Conversion Tracking, or a custom HTML tag).
3. Configure your tag settings, such as Measurement ID from GA4 and event parameters. To enhance your tag configuration with dynamic values, you can use variables by clicking the "Variable" button next to the corresponding input field.
4. Define the triggers that determine when your tag should fire. This could be a simple "All Pages" trigger for basic page view tracking or a more complex trigger based on specific user interactions.
5. Save your tag and click "Submit" to publish your changes and deploy your updated tracking implementation.
By utilizing Google Tag Manager's intuitive interface, you can effortlessly manage and update your tags, triggers, and variables without needing extensive technical knowledge.
Best Practices for Streamlining Tracking and Improving Data Quality
Mastering Google Tag Manager isn't just about understanding the platform's core components and setup process; it also involves adopting best practices to streamline tracking and ensure data accuracy. Here are some essential tips to help you make the most of Google Tag Manager:
Keep Your Tag Implementation Organized
With potentially numerous tags, triggers, and variables in your container, it's crucial to keep things organized to ensure ease of management and updates. Utilize descriptive names for your tags, triggers, and variables, and consider implementing a consistent naming convention across your account.
Test Your Tracking Setup Thoroughly
Before pushing updates to a live environment, make use of Google Tag Manager's built-in preview mode to test and confirm the correct functioning of your tags, triggers, and variables. You can also use the Google Tag Assistant browser extension to validate proper tag firing and data collection.
Utilize Workspaces to Collaborate Efficiently
If you're working with a team or managing multiple projects, leverage Google Tag Manager's workspaces feature to create separate environments for different team members or initiatives. This will help prevent conflicts, streamline collaboration, and ensure seamless tracking updates.
Unleash the Power of Google Tag Manager in Your Tracking Arsenal
By mastering Google Tag Manager's core components, account setup, tag implementation, and best practices, you'll be well-equipped to streamline your tracking setup, enhance data quality, and uncover valuable insights to drive your digital marketing strategy. By adopting this powerful tool, you'll not only simplify your tracking management but also bolster your analytics capabilities and stay ahead of the competition.
Ready to supercharge your tracking and analytics skills and become a master of Google Tag Manager? Explore Loves Data’s comprehensive online programs that include Google Tag Manager courses and kickstart your journey to digital marketing success.
Comments