Master Google Tag Manager: Custom Templates & Triggers
Loves Data
Google Tag Manager (GTM) is a powerful tool that simplifies the process of adding and managing tracking codes on your website. Instead of manually inserting individual tags, you can use GTM to deploy and manage these tags through an intuitive interface, saving you time and reducing the risk of errors. As you delve deeper into GTM, you'll discover features that can significantly enhance your tracking capabilities, such as custom templates, the data layer, custom triggers, and the Preview Mode.
Getting the most out of Google Tag Manager requires a good understanding of these advanced features. Custom templates allow you to create reusable tag configurations, making it easier to manage complex tracking setups. The data layer is a JavaScript object that GTM uses to pass information from your site to the Tag Manager. Utilizing it can provide more detailed and accurate tracking.
Additionally, creating custom triggers can automate and streamline your tag deployment. This ensures your tags fire under the right conditions without manual intervention. Finally, using GTM's Preview Mode lets you test and debug your tags in real-time, ensuring they work correctly before going live. By mastering these features, you can leverage GTM to its full potential, making your digital marketing efforts more effective and efficient.
Watch our Google Tag Manager tutorial series to learn how to get started with GTM:
Exploring Custom Templates in Google Tag Manager
Custom templates in Google Tag Manager (GTM) are a game-changer for managing complex tracking setups. They allow you to define reusable configurations for tags, triggers, and variables, significantly reducing the time spent on repetitive tasks. By creating custom templates, you can ensure consistency across your tags and simplify the deployment process. This is particularly useful when working with third-party tags or implementing advanced tracking features that require specific configurations.
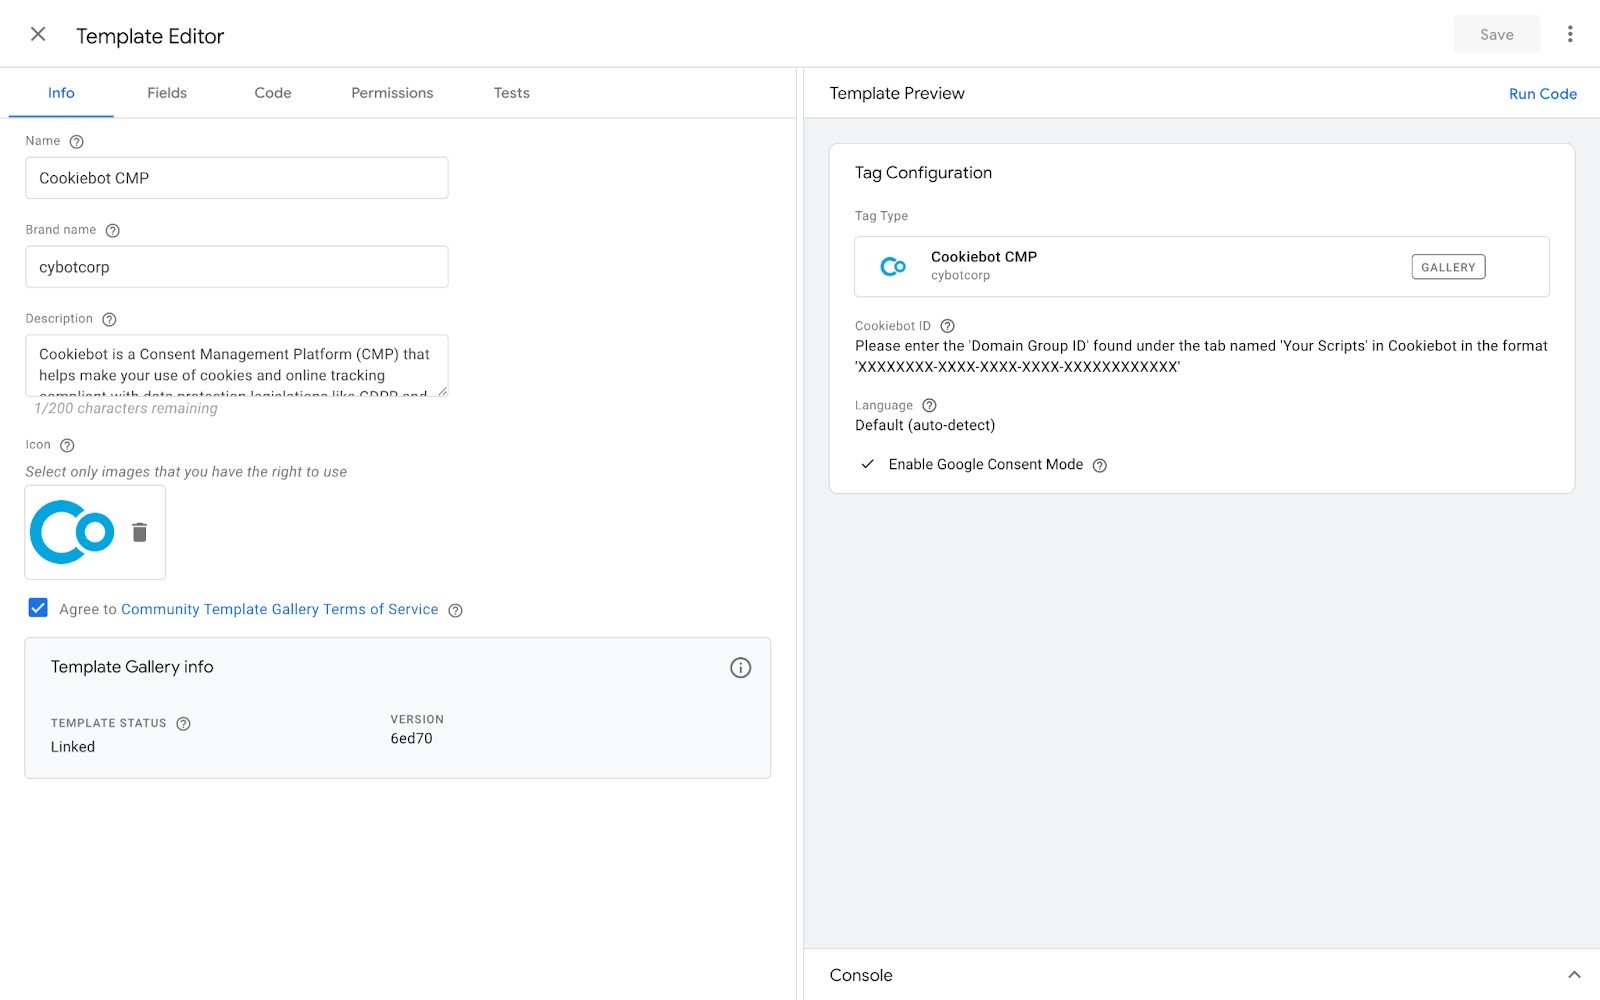
Templates for cookie consent banners, like Cookiebot, are some of the most common templates used in Google Tag Manager:
To start using custom templates, you can either create your own or import templates from the Google Tag Manager community gallery. Creating your own template involves defining the input fields for the tag and writing the JavaScript needed to execute it. This might sound technical, but GTM provides a user-friendly interface to guide you through the process. Once you've created a template, you can easily share it across different containers or with team members, making collaboration more efficient. Leveraging custom templates will not only streamline your workflow but also minimize errors in your tag setup.
Utilizing the Data Layer for Enhanced Tracking
The data layer in Google Tag Manager serves as a bridge between your website and GTM, enabling more advanced and accurate tracking. It is a JavaScript object that collects and stores information on your site, which can then be passed to GTM for tag firing. Using the data layer allows you to track user interactions, e-commerce transactions, and other critical actions more effectively than relying on traditional tracking methods alone.
Setting up a data layer involves adding a snippet of JavaScript code to your site, which pushes useful data into the data layer object. For example, if you're running an e-commerce site, you might want to track detailed information about product views and purchases. By populating the data layer with this information, you can create more precise triggers and variables in GTM. This enables you to capture detailed user behavior and other metrics that are important for your analytics and marketing efforts.
Here’s an example of an ecommerce data layer that pushes the ‘purchase’ event once a transaction has occurred:
Utilizing the data layer also makes your tracking setup more scalable and easier to manage. Since the data is centralized in the data layer, you can update your tracking requirements without modifying the tracking code directly on your site. This separation of data collection and tag management simplifies maintenance and helps ensure data accuracy. Leveraging the data layer will enhance your ability to gather actionable insights and optimize your digital marketing strategies.
Automating Tag Deployment with Custom Triggers
Custom triggers in Google Tag Manager (GTM) allow you to automate the deployment of tags based on specific conditions. This can save you a significant amount of time and ensure that your tags fire exactly when they should. Triggers listen for events on your website, such as page views, button clicks, or form submissions, and then activate tags based on these predefined conditions.
To create a custom trigger, start by defining the event that you want to track. For instance, you might want to fire a tag when a user adds a product to their cart. You can set up this trigger by selecting the appropriate event type, such as "Click" or "Custom Event," and then specifying the conditions that need to be met for the tag to fire. These conditions can be based on elements like URL, CSS selectors, or custom JavaScript variables.
Using custom triggers enhances the accuracy and relevancy of your tracking efforts. It ensures that tags only fire under the right circumstances, which can improve your data quality and the effectiveness of your marketing analysis. With the right setup, custom triggers can bring a higher level of automation and precision to your GTM deployment, making your overall digital marketing efforts more efficient.
Debugging and Testing with GTM’s Preview Mode
Before deploying tags live, it is crucial to test them thoroughly to ensure they work as expected. Google Tag Manager’s Preview Mode is a powerful feature for debugging and testing your setups. Preview Mode allows you to see which tags are firing on your site and understand the flow of data through your triggers and variables in real-time. This makes it easier to identify and fix any issues before they affect your live site.
To use Preview Mode, simply enable it in your GTM workspace and navigate to your website. As you interact with your site, a panel will appear showing detailed information about which tags fired, which ones didn’t, and why. This immediate feedback is invaluable for troubleshooting. You can see if your tags, triggers, and variables are set up correctly and make adjustments on the fly.
Testing your tags in Preview Mode helps you catch errors that could lead to inaccurate data collection or other tracking issues. By thoroughly debugging your GTM setup, you ensure that your tags perform correctly, providing reliable data for your marketing and analytics efforts. This step is essential for maintaining a high level of data quality and trust in your reporting and analysis.
Conclusion
Mastering Google Tag Manager's advanced features like custom templates, the data layer, custom triggers, and Preview Mode can greatly enhance your tracking capabilities. These tools not only streamline your workflow but also improve the accuracy and efficiency of your tracking setup. By exploring custom templates, you can create reusable configurations that save time and reduce errors. Utilizing the data layer allows for more detailed and scalable tracking, transforming how you collect data on your site.
Custom triggers automate tag deployment, making your tracking efforts more precise and condition-specific. Finally, GTM’s Preview Mode is an indispensable tool for testing and debugging, ensuring that your tags work correctly before going live. These features combined can make a significant difference in how you manage and optimize your digital marketing strategies.
If you're ready to take your Google Tag Manager skills to the next level, visit Loves Data for expert training and resources. Enhance your proficiency today and make your tracking more effective and reliable. Enroll in a Google Tag Manager course today.

Comments